
JESSICA MCCALLA
RECIPES FOR everyday LIFE


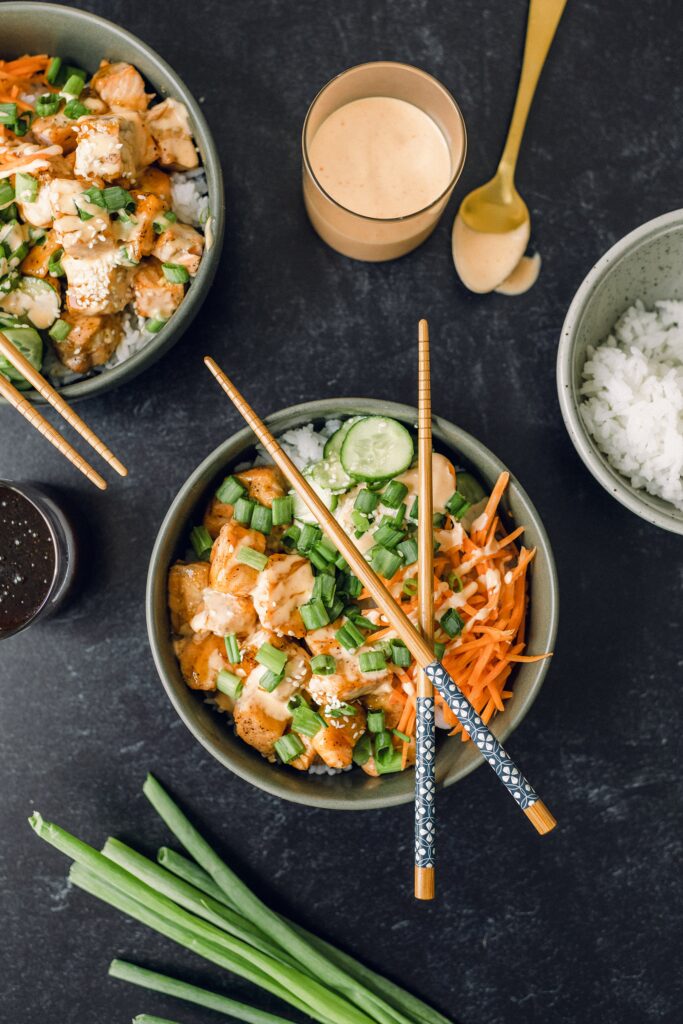
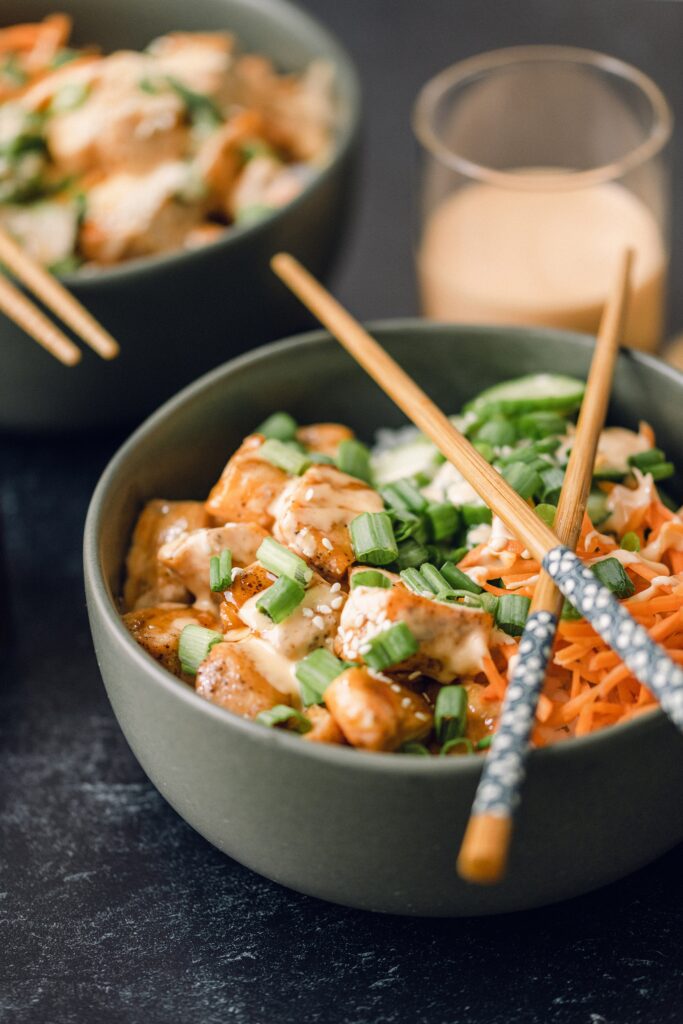
I’ve been craving all varieties of rice bowls lately and these salmon teriyaki bowls have been hitting the spot every time. To make it even more fun for my boys, who surprisingly have always loved salmon, is to put all the ingredients on the table and they love to build their own bows! Our favorite toppings are mini seedless cucumbers (marinated in a bit of sesame oil, soy sauce, rice vinegar, and a dash of salt), shredded carrots, sesame seeds, scallions, and of course yum-yum sauce.
Ooh, you know what else would be a fun addition – an egg!
It seems like a lot of steps, but this one comes together pretty easily – even the sauces! So have fun with it and let me know what you would add to your salmon teriyaki rice bowls!
xo, Jess

Salmon Teriyaki Rice Bowls with Homemade Teriyaki + Yum-Yum Sauce
Ingredients
Teriyaki Sauce
- ½ cup reduced sodium soy sauce
- ½ cup brown sugar packed
- ¼ cup orange juice
- 2 tbsp rice vinegar
- 1 tbsp sesame oil
- 1 tbsp ginger paste or grated ginger
- 1 tsp garlic powder
- 2 tsp corn starch
Yum-Yum Sauce
- 1 cup mayo
- 2 tbsp sriracha
- 1 tbsp rice vinegar
- 1 tsp garlic powder
- 1 tbsp granulated sugar
- ¼ tsp salt
- 1-2 tbsp water
Salmon Bowls
- 1-1 ½ pounds salmon skin removed
- salt + pepper to taste
- sesame seeds as a garnish
- scallions as a garnish
- shredded carrots
- mini seedless cucumbers sliced thin
- cooked white rice (I use Jasmine)
Instructions
- Preheat oven to 425°.
- In a small sauce pan, add all the teriyaki sauce ingredients and whisk together over medium-high heat. Let boil for 2-3 minutes, whisking continuously. Reduce heat to low and continue to whisk every few minutes until sauce thickens.
- Once the sauce coats the back of a spoon (and you can run your finger down the back of the spoon and leave a distinct line), your sauce is ready. Keep warm until ready to use.
- For the yum-yum sauce, mix all ingredients together, except the water, in a small bowl. Add 1/2 tbsp of water at a time to get to your desired consistency. I like mine thicker but easy to drizzle. Set aside.
- Cut salmon into cubes and season with salt and pepper.
- Place onto a lightly greased baking sheet and cook in the oven for about 8-10 minutes, or until cooked through.
- Remove salmon from oven and let cool slightly. Top with 2 tablespoons (or an amount that makes you happy!) of the teriyaki sauce and toss gently to coat the salmon.
- Let's build your bowl! Place rice at the bottom of a bowl, top with salmon, and drizzle with extra teriyaki sauce, if desired. Add your sliced cucumbers, shredded carrots, and any other toppings you like. Drizzle yum-yum sauce over the bowl, top with sesame seeds and scallions, and enjoy!
Notes
- You can store your teriyaki and yum-yum sauce in tightly sealed containers in the fridge. The yum-yum sauce may thicken after being refrigerated. To loosen it before use, just add 1/2 tbsp of water at a time until you reach your desired consistency.
- I like to flavor up my sliced cucumbers slightly with a drizzle of sesame oil, rice vinegar, soy sauce, and sesame seeds before adding them to the bowl.
- Get creative with these! It doesn’t have to be exact to my recipe. Add or take away whatever you like and be sure to let me know how you build YOUR bowl by sharing a pic and tagging me on Instagram @jessicamccalla!
September 7, 2023
Salmon Teriyaki Rice Bowls
filed in: